The first two parts of this series were dedicated to preparing a case to be executed without intervention and to install some useful tools to simplify operations with Azure Storage and Azure Batch. In part 3 I discuss the setup of an Azure Storage account and create a file share that we will use with Azure Batch.
Create an Azure Storage account
The first step consists in creating an Azure Storage account. To do so, click on the search bar at the top of your Azure account page and type “storage”:

Select “Storage accounts”, which leads to the screen:
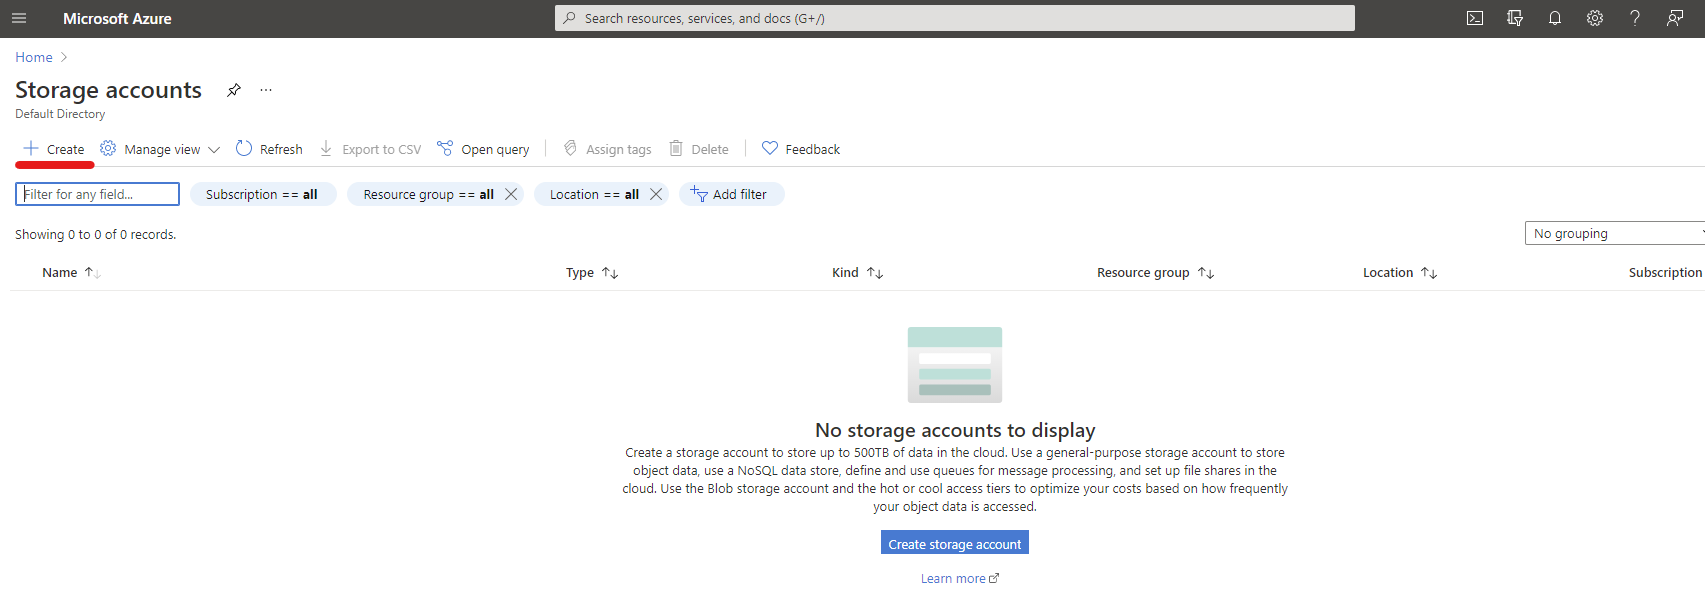
In this screen, click on “+Create”. The following page will open:
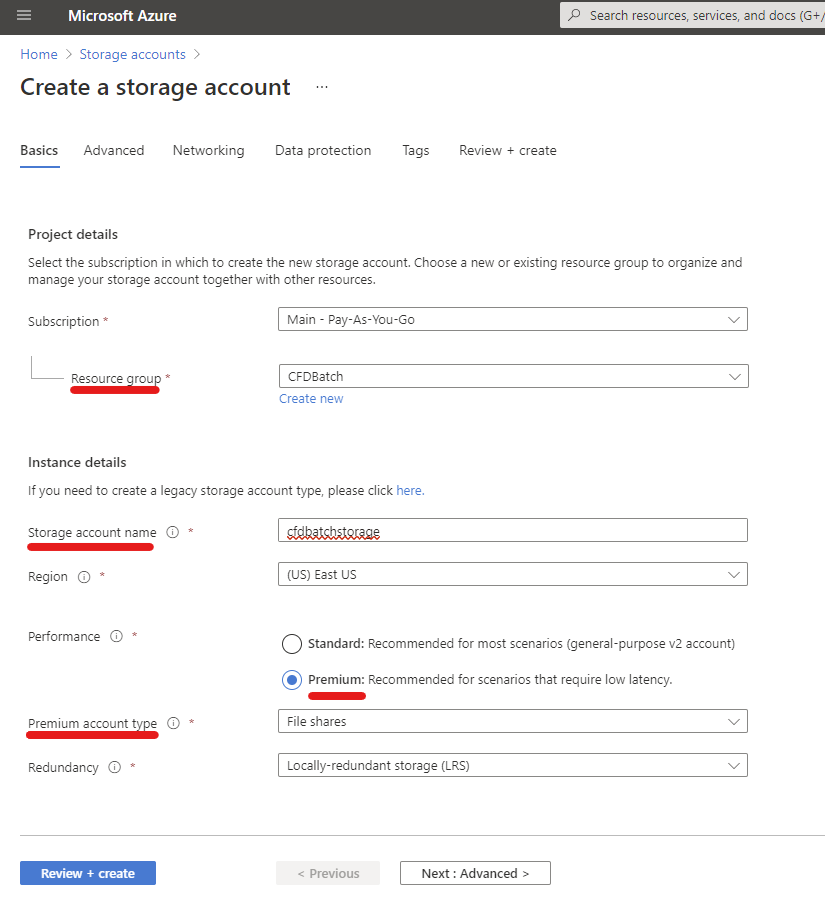
- The resource group shown in this figure was created in advance. If none is available, one can be created by clicking on “Create new”, under the corresponding text box for the resource group.
- The storage account name must be a string with only lower-case characters and no spaces.
- Choose the same region where you will have the Batch account.
- For HPC applications, the recommended performance setting is “Premium”, which comes at a higher cost. If the simulations are not large and a little slower IO performance is acceptable, the Standard setting is also acceptable.
There are many other options concerning API access, security, encryption and networking. Examining these settings is out of the scope of this blog series, but I recommend reviewing them and reading the corresponding documentation to learn more and best configure the account.
Clicking on “Review + create” shows a summary of the selected settings and allows the storage account to be created. It is worth noticing that at creation, no storage is configure yet: the file share I mentioned before still needs to be created.
Create a file share
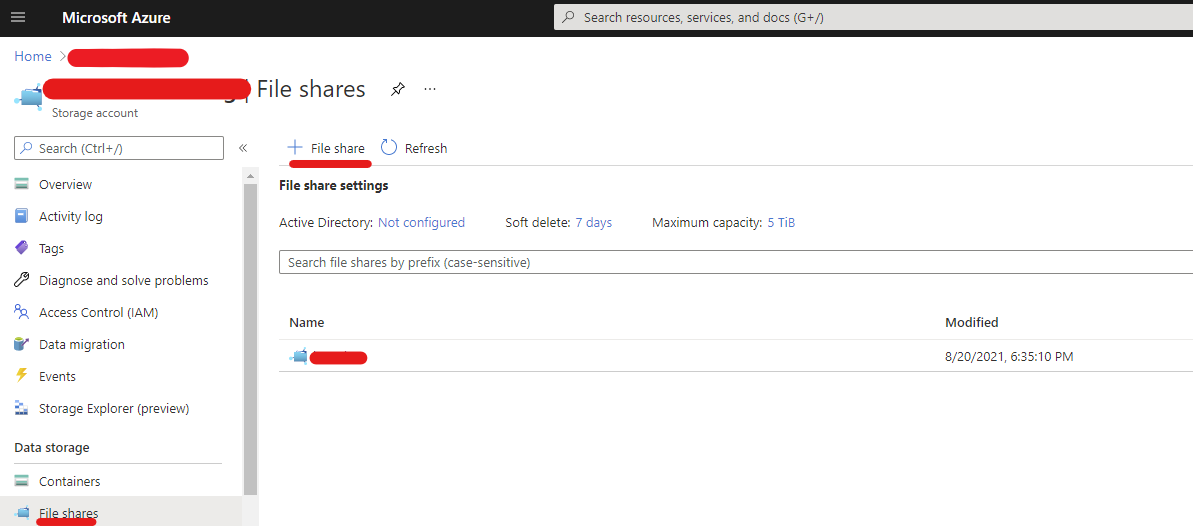
A file share can be created under the Azure Storage account by clicking on “File shares” in the sidebar and then on “+File share”:
This will open the following setting page:
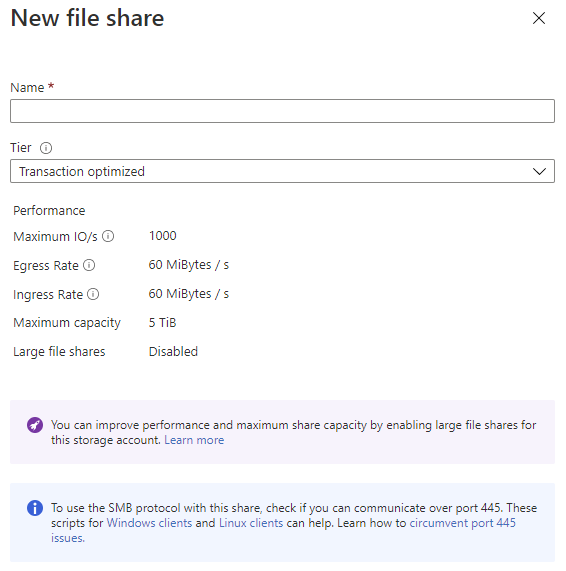 Insert the name of the file share and select the “Premium” tier for the highest performance available, if using a Premium storage account, or the “Transaction optimized” tier, if a “Standard” storage account is used. Creating the file share brings back to the list of file shares in the storage account.
I recommend setting a quota by clicking on the name of the file share. This will open the following screen:

Click on “Edit quota” and insert the desired size in the dialog:
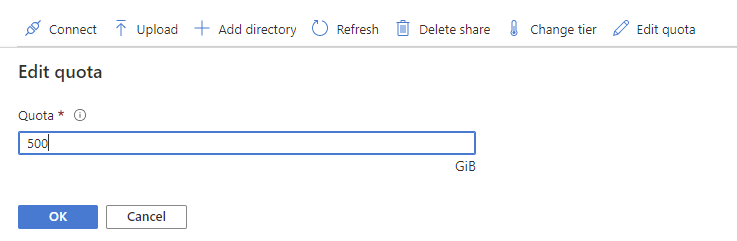
The file share is now ready. I will show how to use it in Azure Batch in the next part.
Stay tuned! 🙂
This offering is not approved or endorsed by OpenCFD Limited, the producer of the OpenFOAM software and owner of the OPENFOAM® and OpenCFD® trade marks. Alberto Passalacqua is neither associated to OpenCFD Ltd nor to Microsoft and did not receive funding from them to write this article. All registered trade marks belong to their legal owners.