In the first part of this series of blog posts, I showed how to configure an OpenFOAM® case to be executed automatically through a bash script. The script allows the case to be restarted at need, without repeating steps of the case setup that were executed the first time it was executed.
Before proceeding with the configuration of Azure Batch, I recommend the installation of two tools provided by Azure:
Both tools are available for Windows®, Linux® and mac®, so their use is not restricting to a specific operating system.
I also recommend installing an SSH client: all the main operating systems currently provide one, and since I use Windows as my main operating system, I suggest MobaXterm, in addition to the command-line SSH client available in the Windows Terminal and PowerShell.
Azure Storage Explorer
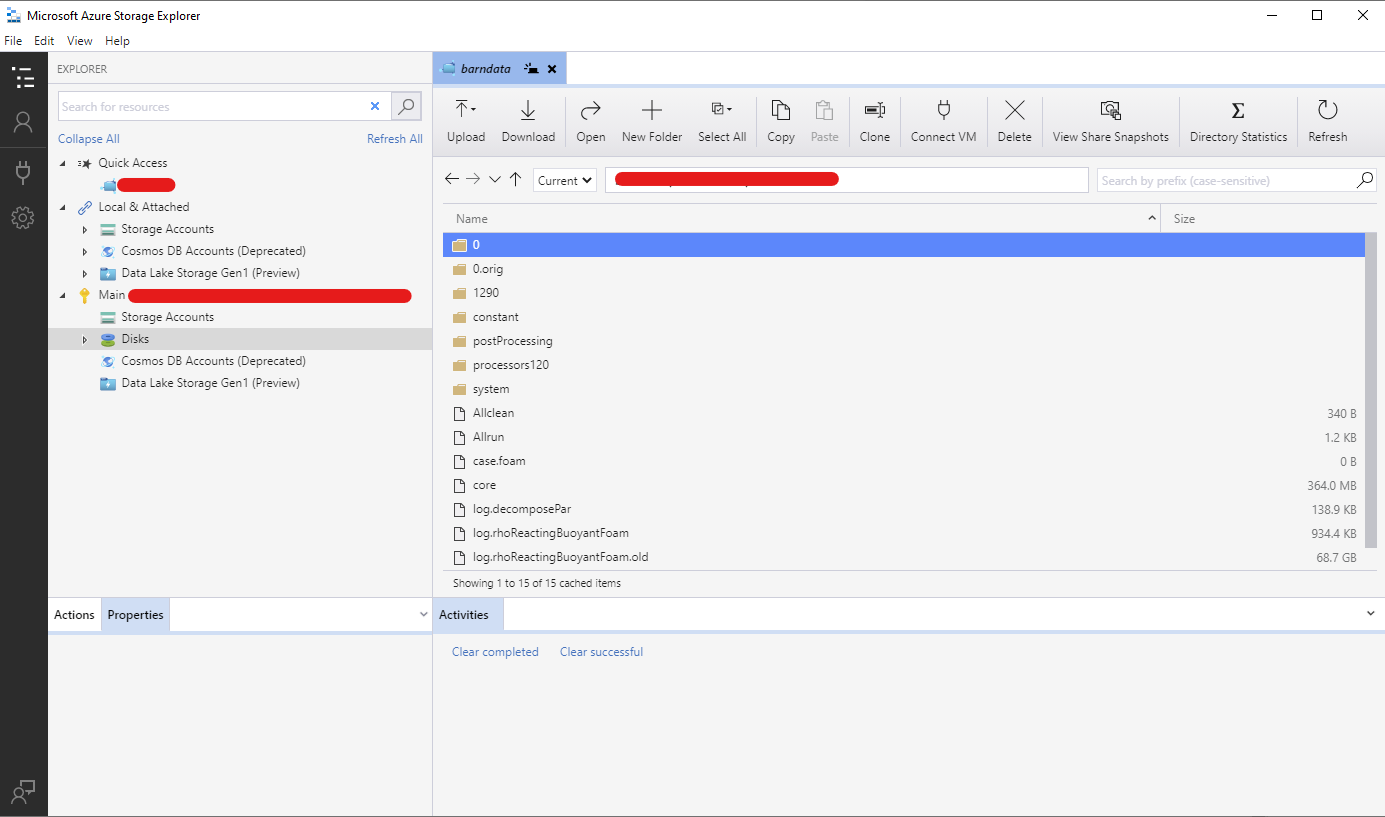
Azure Storage Explorer is a graphical user interface for Azure Storage. It can manage multiple accounts, and provides graphical access to the various type of storage available in Azure.
The figure below shows an example of how a file share can be navigated. The interface allows files to be uploaded and downloaded, but not edited live. However, files can be opened on the fly, copied, and deleted. Finally, the space occupied by a directory can be calculated using the Directory Statistics button.
Those who prefer working via the command line will find AzCopy useful, since it allows to copy files or blobs from and to Azure Storage.
Batch Explorer
Batch Explorer allows the Azure Batch resources to be monitored and managed with a convenient graphical interface, rather than using the web interface.

The figure above shows an example of the dashboard, where high-level statistics concerning pools, jobs and tasks are shown.
Pools can be created using the graphical interface, selecting the operating system, the type of nodes, if and how they should be interconnected, in addition to all the other settings needed to start up a pool and, eventually shut it down when jobs are completed. A typical screen seen by the user is shown below: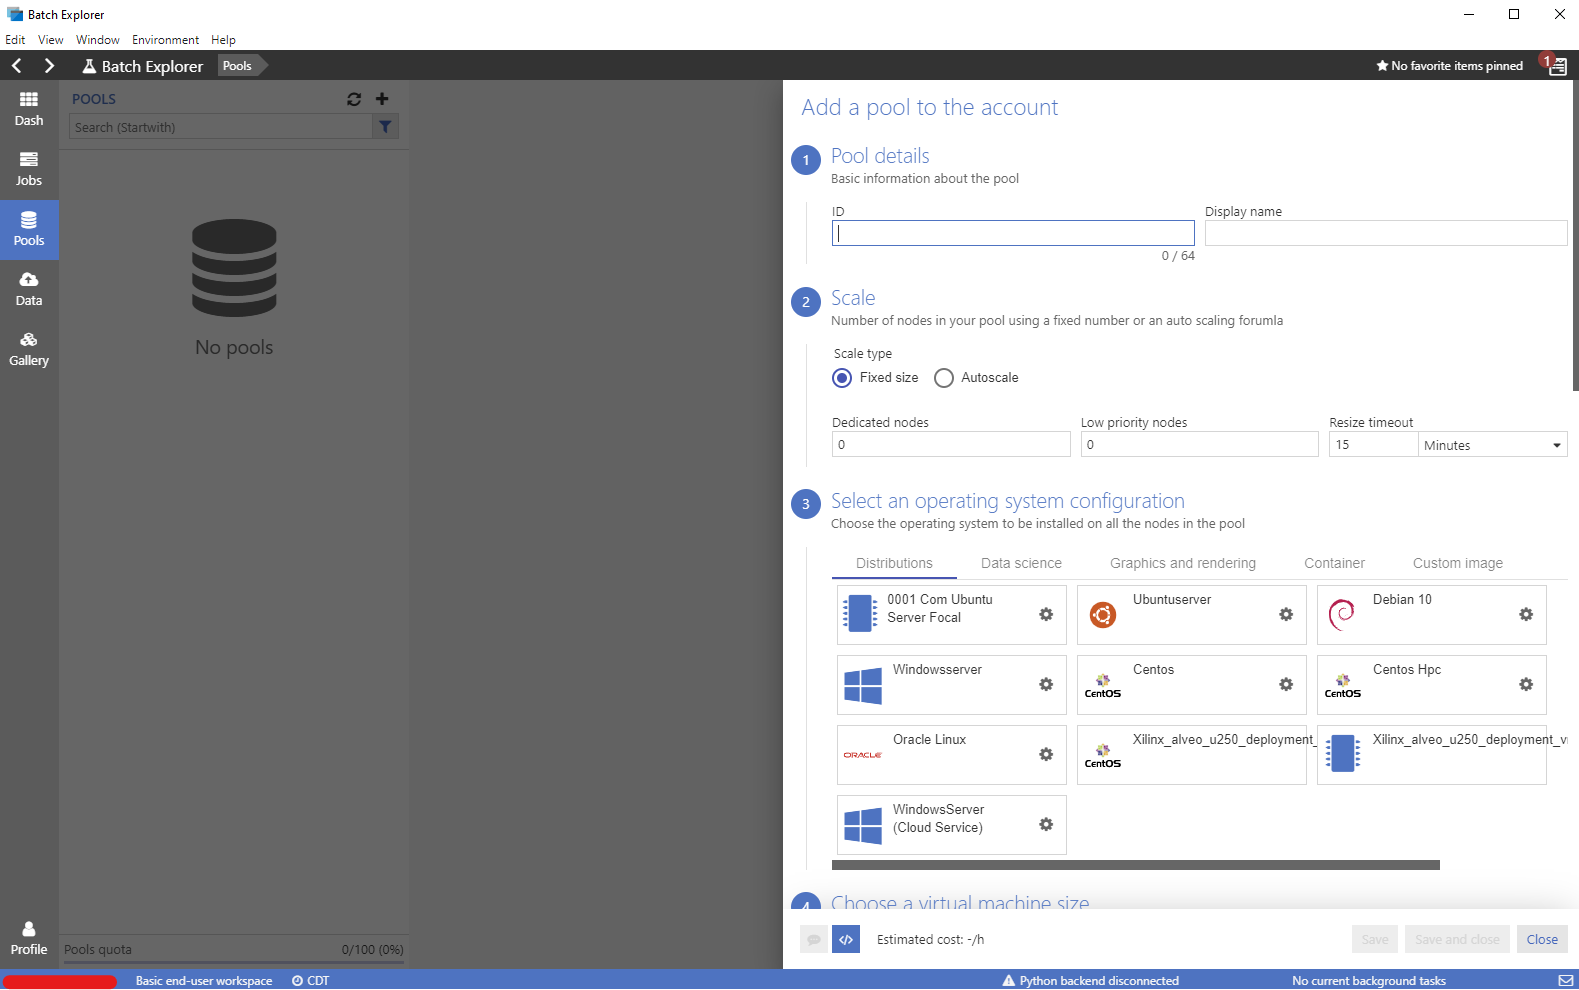
We will see that it is possible to monitor and operate on jobs and tasks from the Jobs tab, an example of which is shown below:
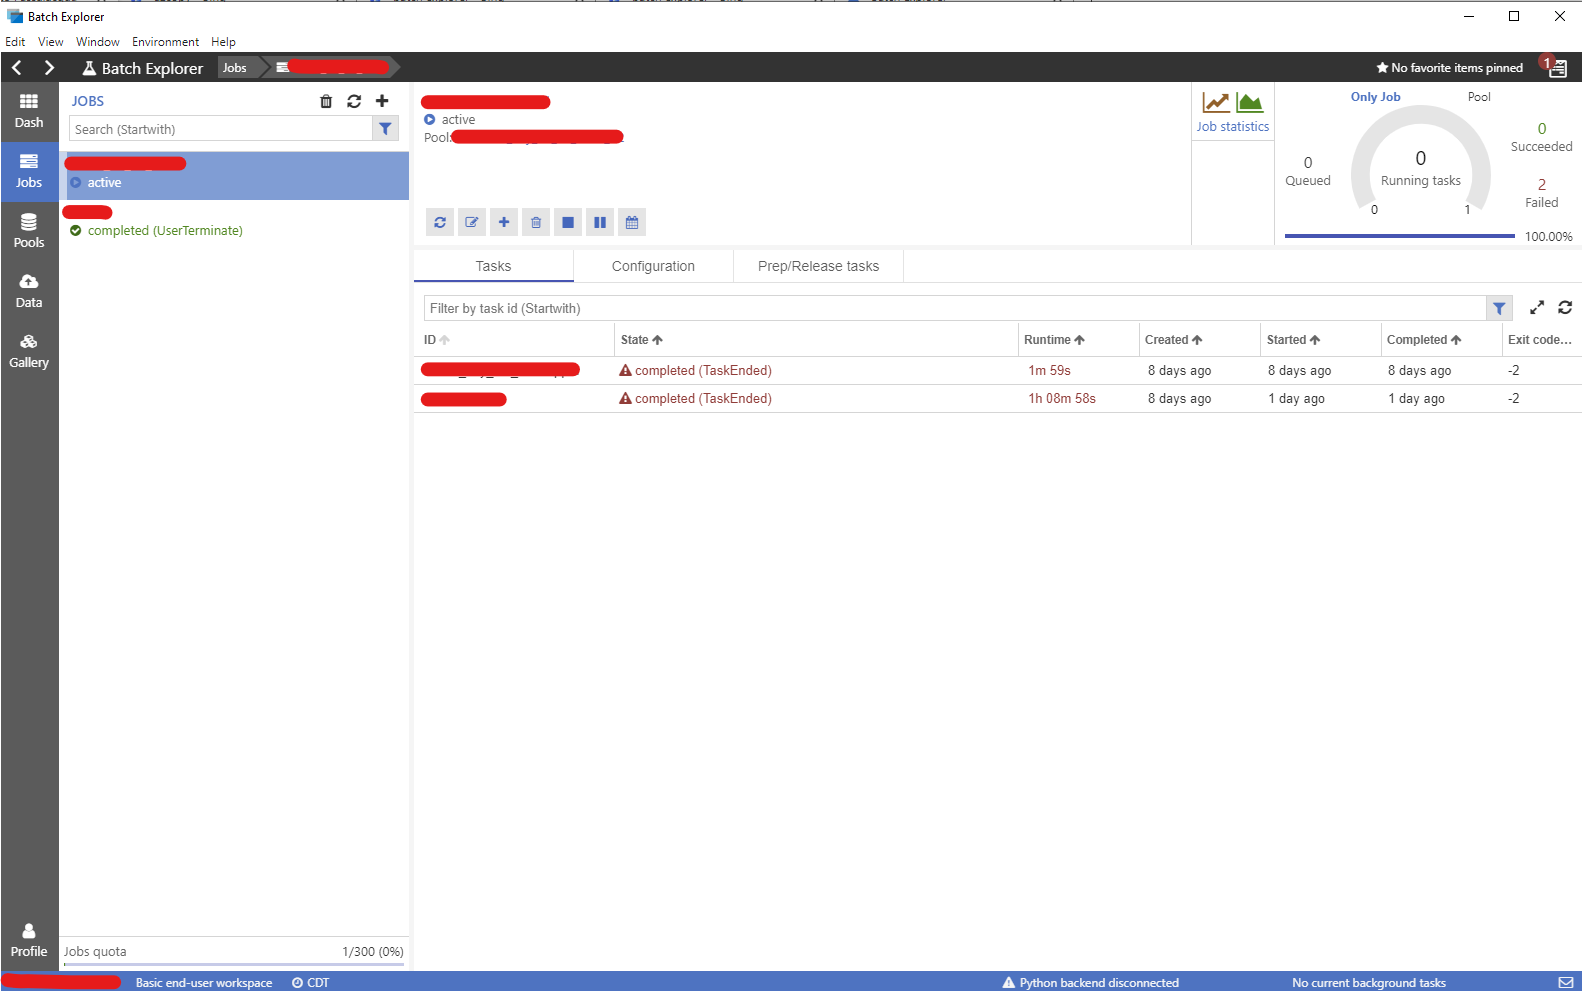
In addition to showing the statistics of the jobs that are active or completed, it is possible to add new jobs and configure them. It suffices to click on the + sign to show the screen to achieve so:
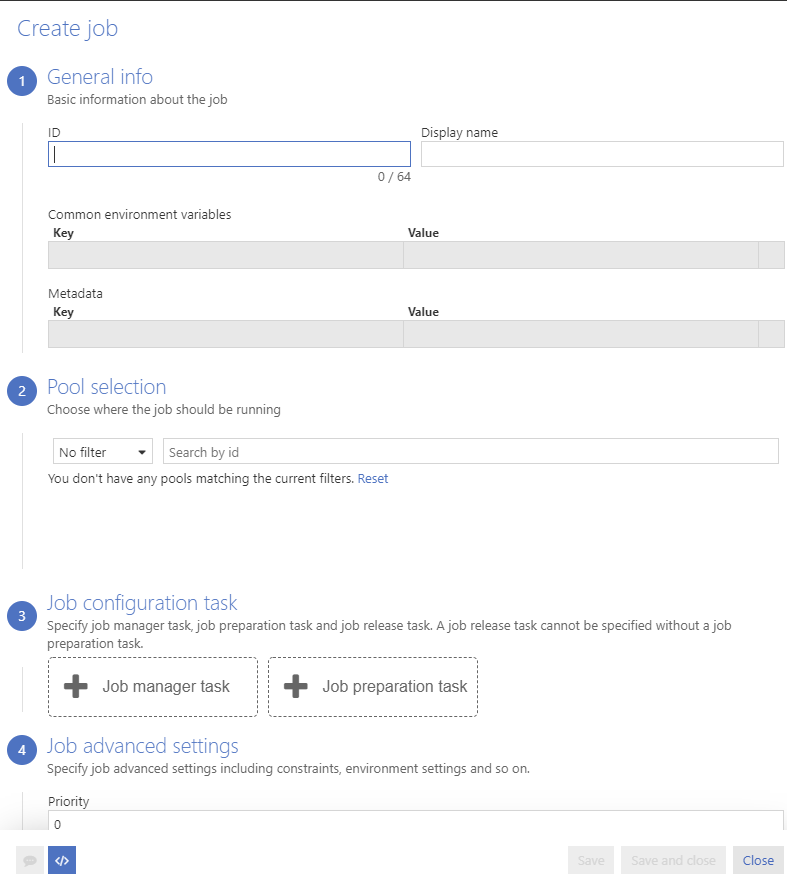
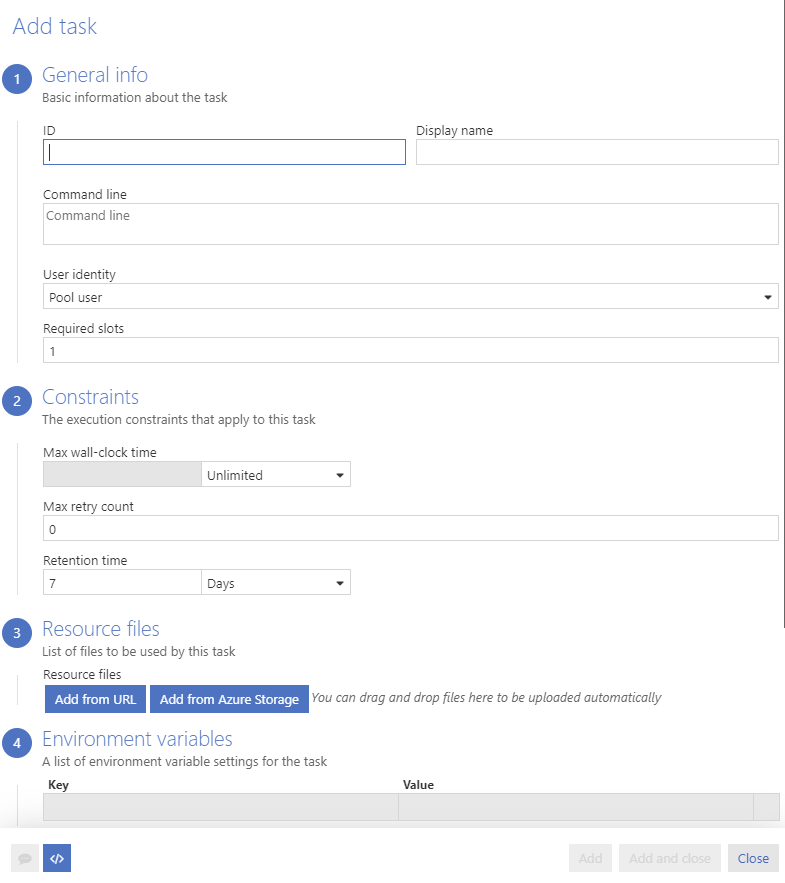
Similarly, pressing the + sign in the job screen opens the dialog to add tasks to a job and configure it:
This is only a quick overview of the tools to familiarize with the user interface. In the next parts I will show how to set cases up using it.
For those familiar with C# or Python, Azure Batch can be controlled using either using the official libraries:
These libraries can be integrated into applications that need batch computing and are well documented in the official documentation for Batch.
This is all concerning the tools recommended to follow along with this series of blog posts. In the next part, I will show how to configure Azure Storage as I did for my project.
In the meantime, enjoy! 🙂
This offering is not approved or endorsed by OpenCFD Limited, the producer of the OpenFOAM software and owner of the OPENFOAM® and OpenCFD® trade marks. Alberto Passalacqua is neither associated to OpenCFD Ltd nor to Microsoft and did not receive funding from them to write this article. All registered trade marks belong to their legal owners.