Installing OpenFOAM on WSL – Ubuntu
The installation steps for OpenFOAM on Ubuntu are straightforward because the OpenFOAM Foundation provides packages for Ubuntu which can be directly used in WSL. The following steps summarize how to rapidly set OpenFOAM-dev up on WSL.
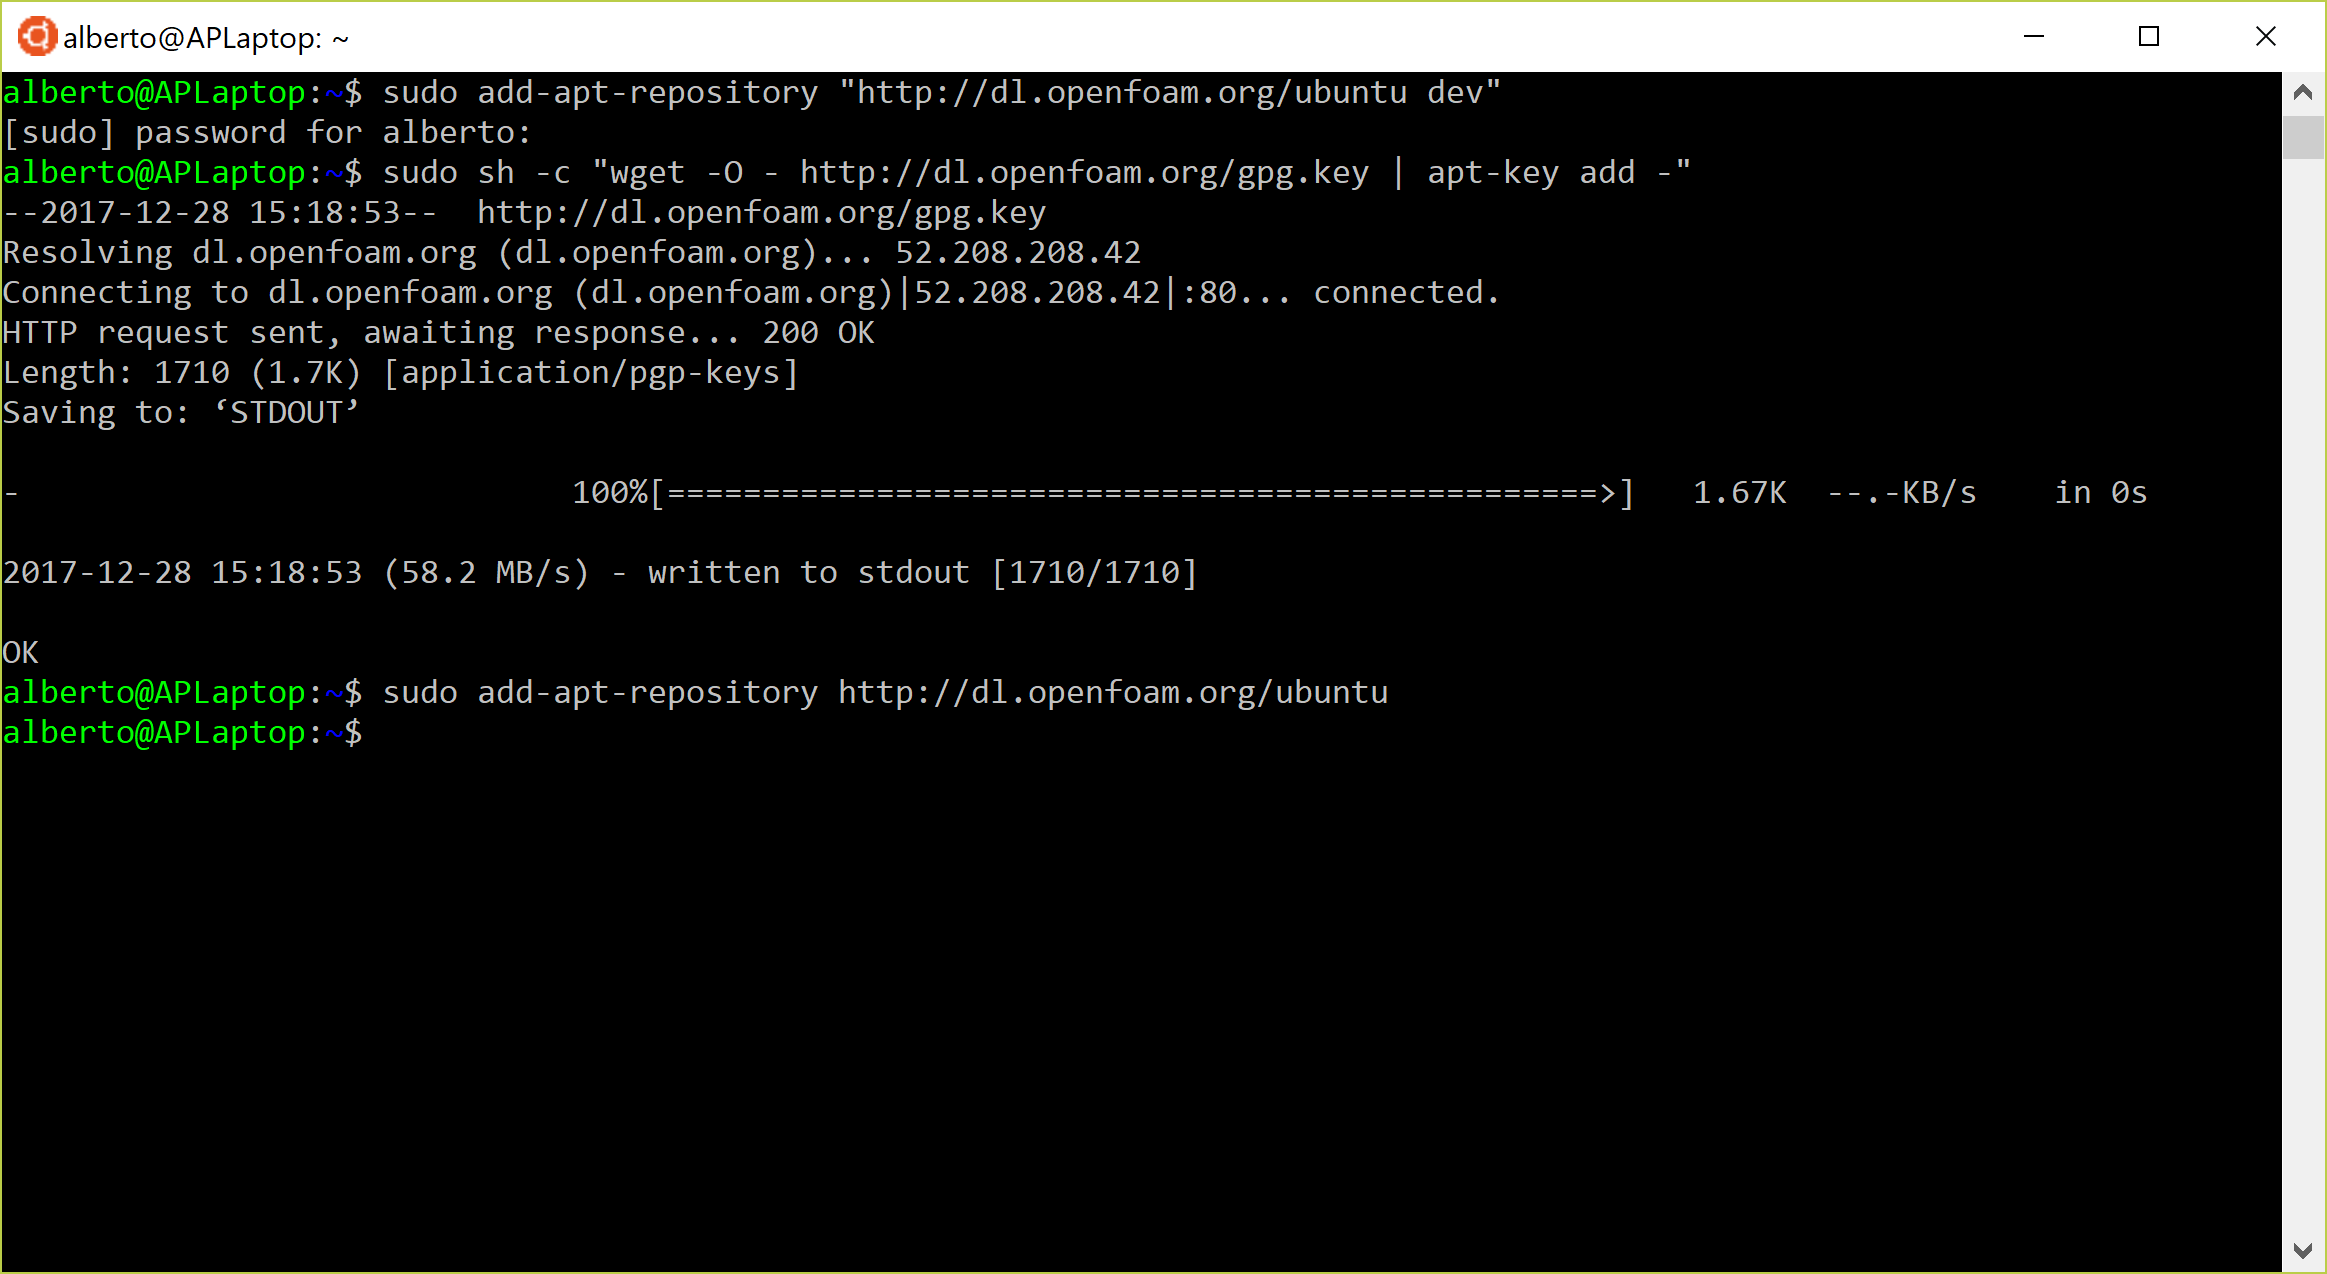
- Open the Ubuntu bash terminal on Windows 10, and add the OpenFOAM repository and the corresponding signatures with the commands:
sudo add-apt-repository "http://dl.openfoam.org/ubuntu dev"sudo sh -c "wget -O - http://dl.openfoam.org/gpg.key | apt-key add -"sudo add-apt-repository "http://dl.openfoam.org/ubuntu"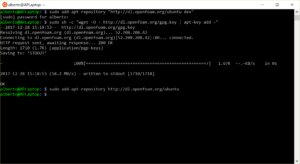
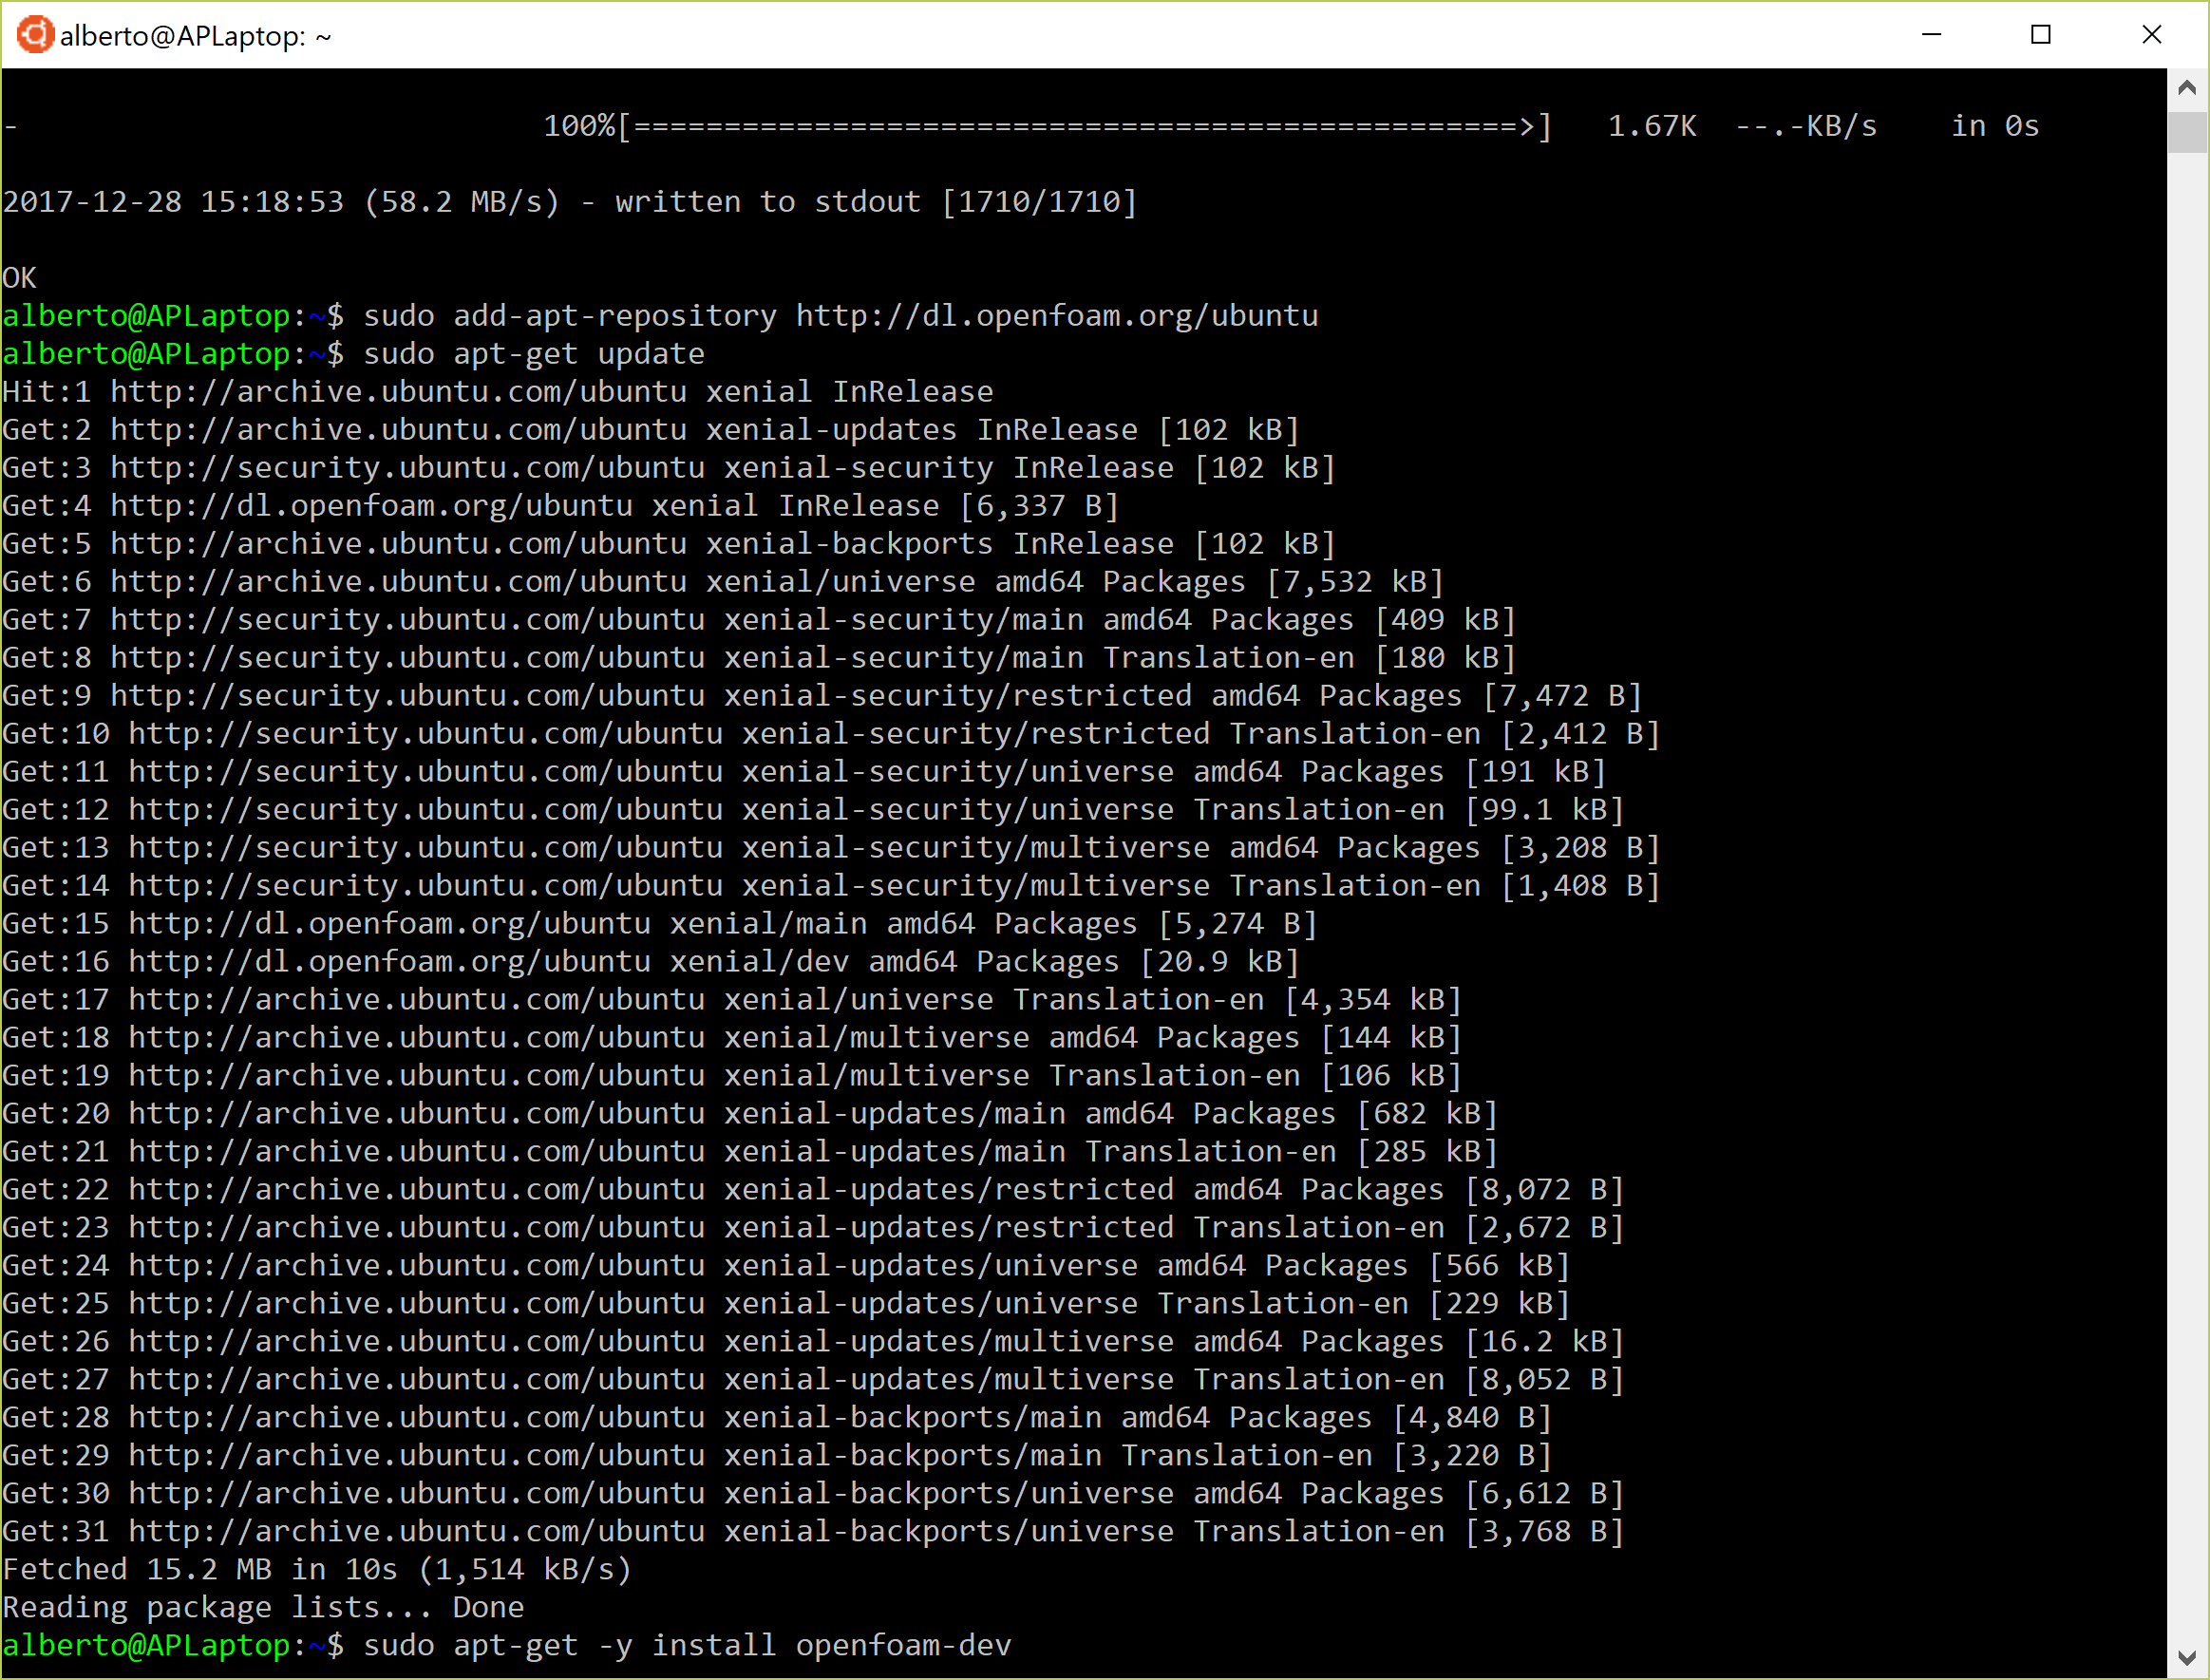
- Refresh the repository with the command:
sudo apt-get update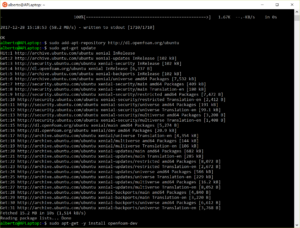
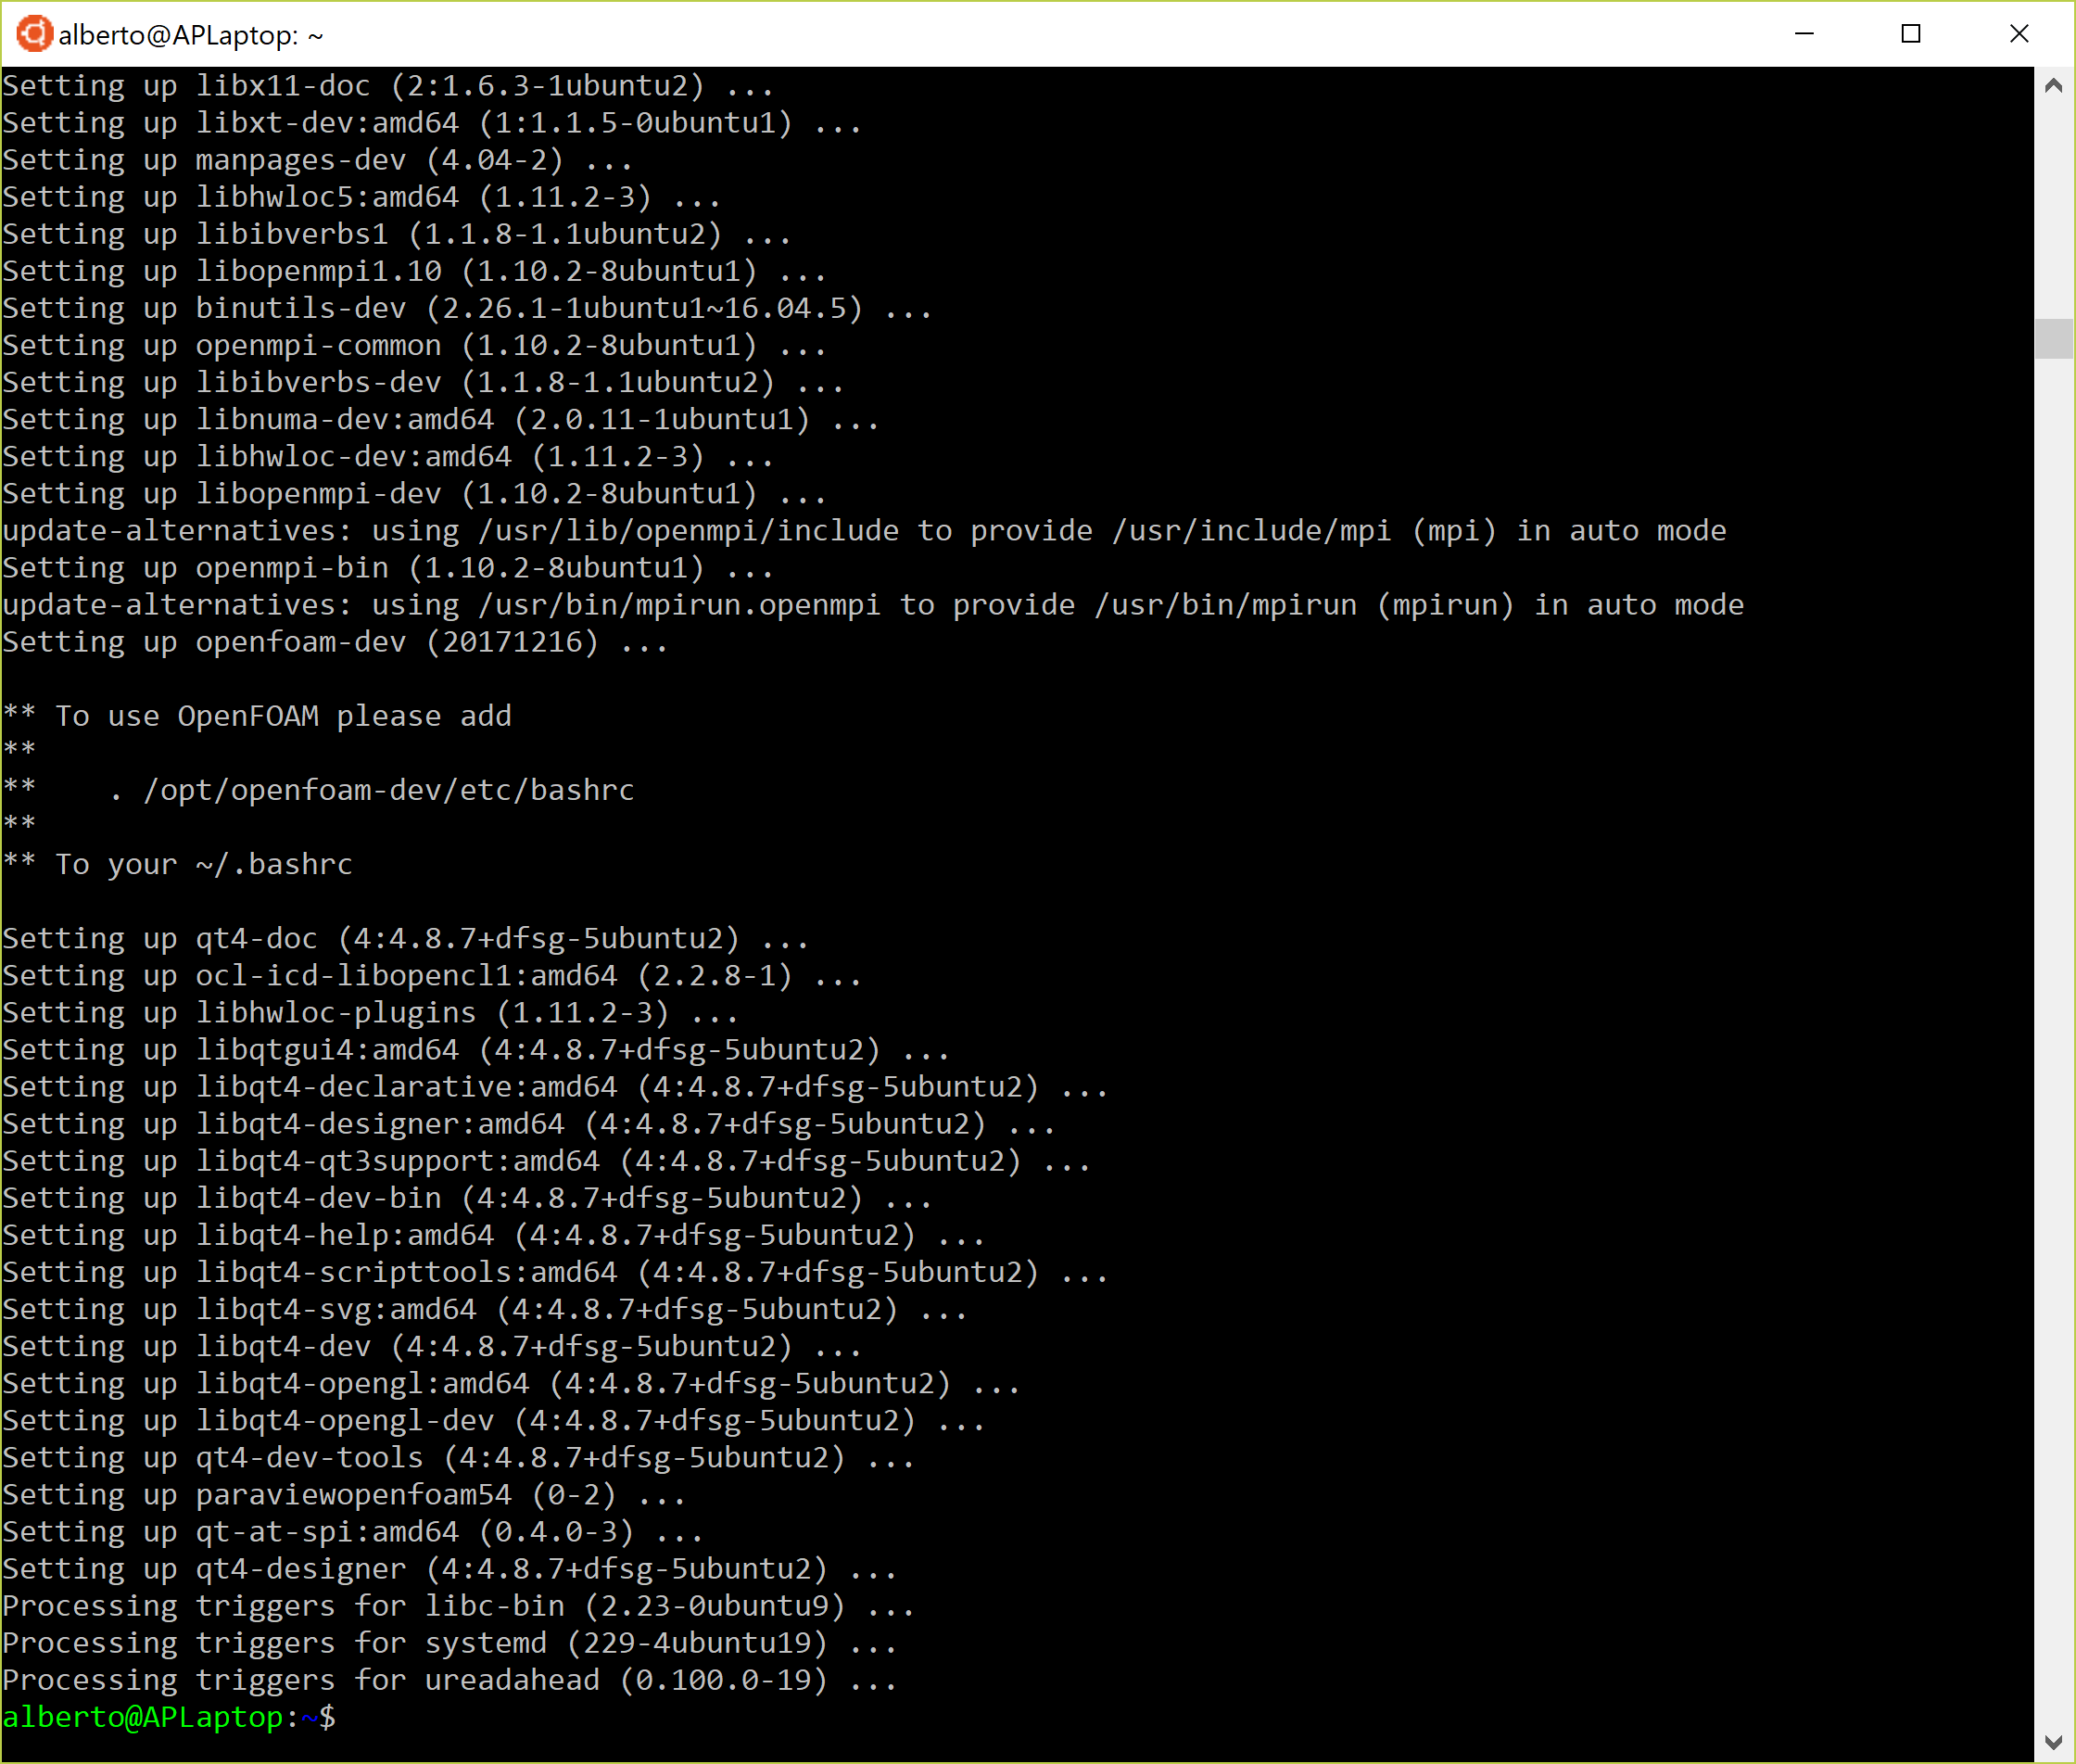
- Install OpenFOAM-dev with:
sudo apt-get install openfoam-dev
- Add the configuration file for OpenFOAM to bashrc with the command:
echo "source /opt/openfoam5/etc/bashrc" >> .bashrc
- Source the user’s bashrc file with:
source ~/.bashrc
- Verify the functionality of OpenFOAM by invoking the command:
icoFoam -help
The OpenFOAM environment is now ready to be used. However additional settings are required to enable the use of graphical post-processing tools such as paraview and gnuplot. These aspects will be the topic of the next part.
This offering is not approved or endorsed by OpenCFD Limited, the producer of the OpenFOAM software and owner of the OPENFOAM® and OpenCFD® trade marks. Alberto Passalacqua is not associated to OpenCFD Ltd.